
T90-7-AW
Standard Light Source Color Matching
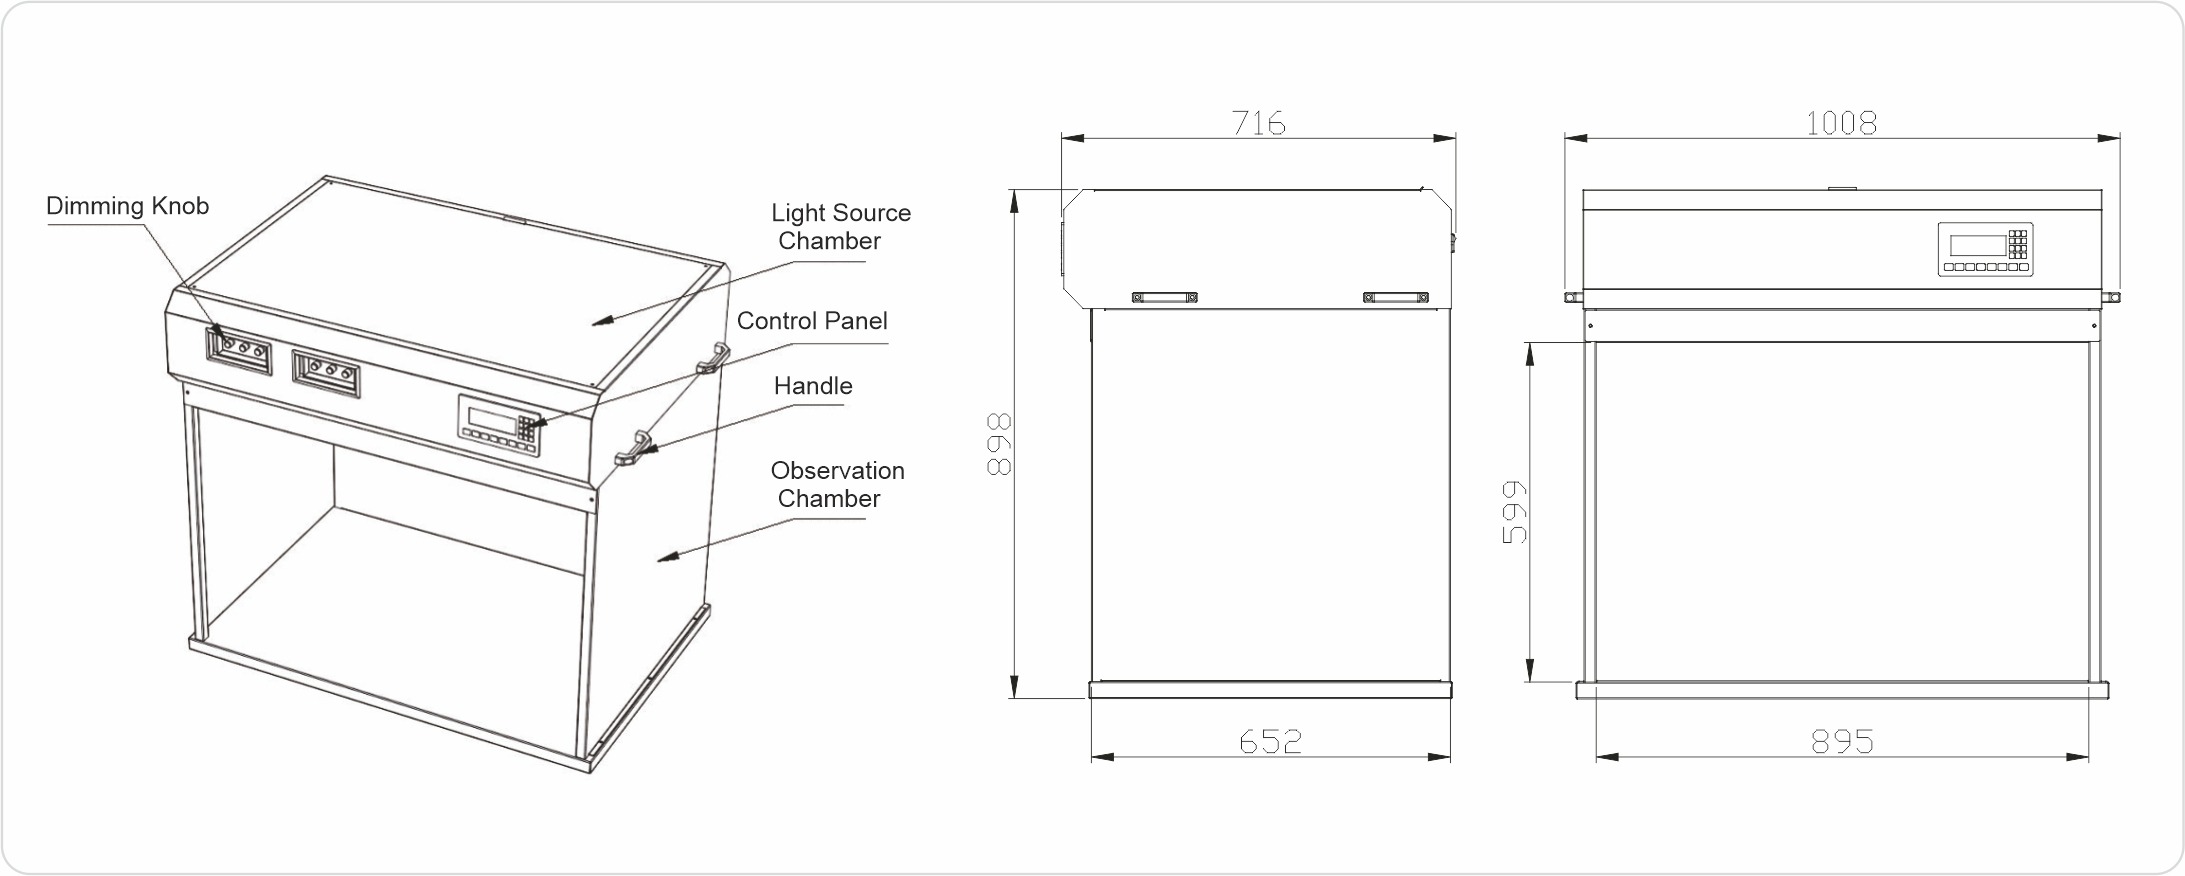
The T90-7-AW light box mainly consists of several parts: the observation chamber, the light source chamber, the control panel, the dimming knob, and the handle. It is used for accurately matching the color deviations of products and is widely applied in color-related fields such as textiles, dyeing, printing, plastics, pigments, paints, coatings, and photography. The control section employs a programmable text controller and a PLC for operation, making it more convenient for operators to use. It allows free switching between different light sources and displays the usage times and duration for each light source, both of which can be reset to zero.

Light Box Working Environment And Method
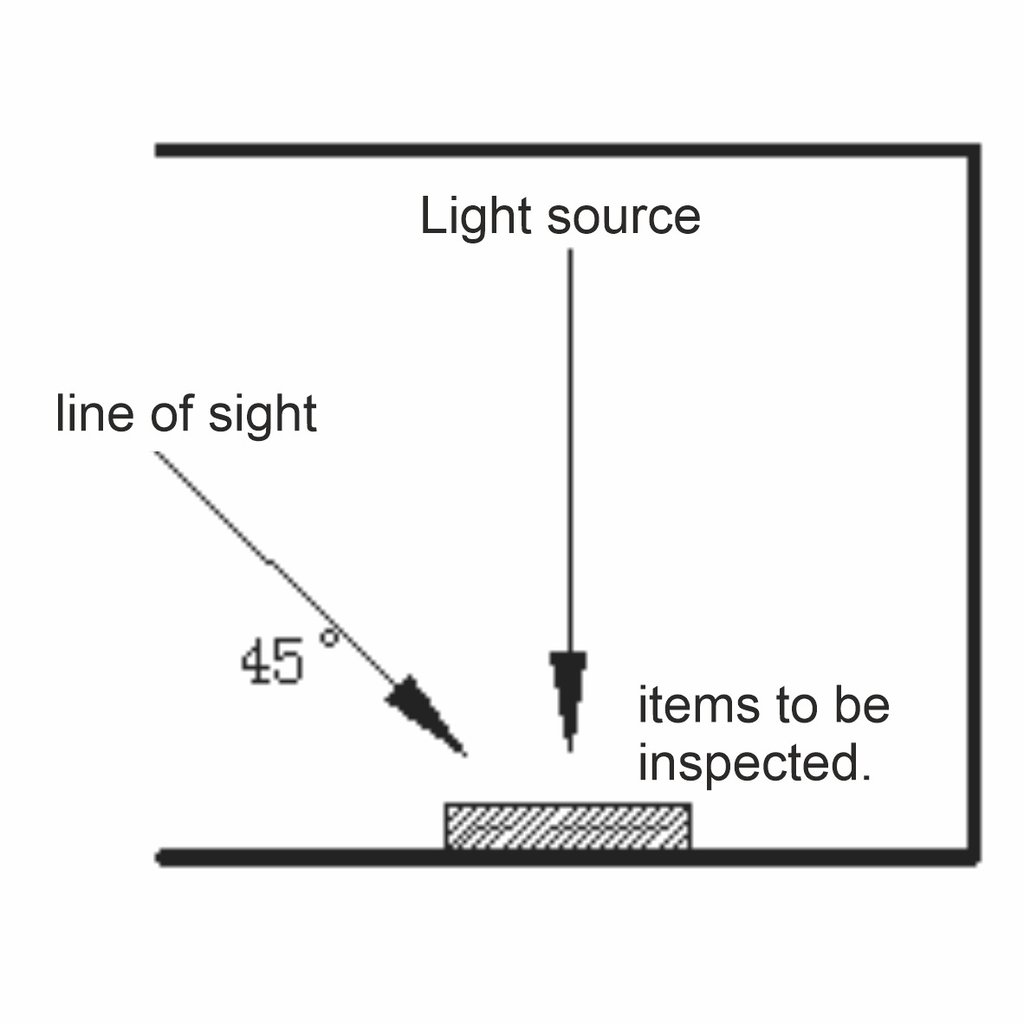
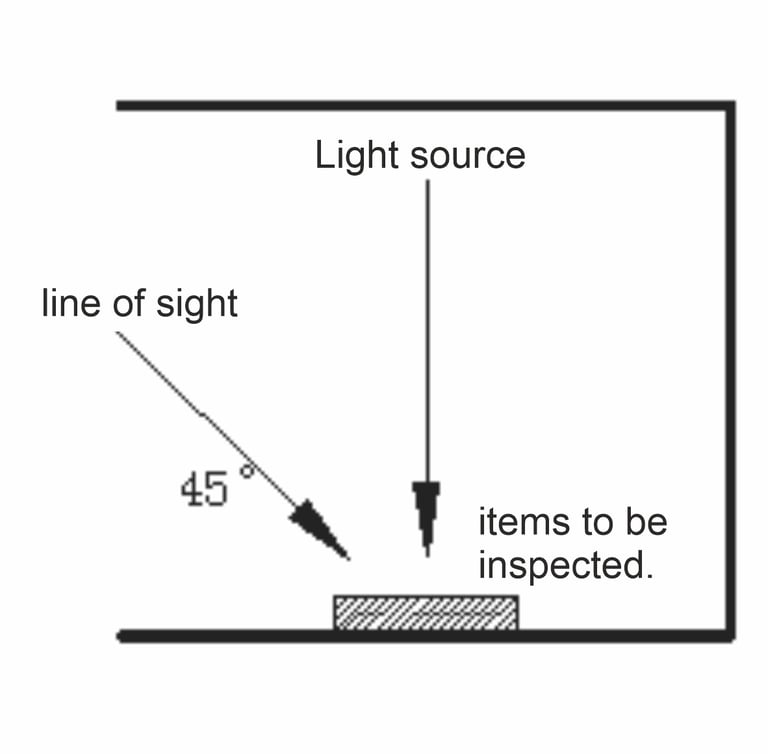
The T90-7-AW light box is specically designed for color evaluation and accurate checking of color deviations in industrial production. Therefore, it should be placed in the optimal assessment environment. The work surface and surrounding areas should be of a neutral color with low gloss. External light interference should be avoided, and external light should not directly shine on the opening of the observation chamber. After the light tubes have been on for 20-30 minutes, the color temperature, color rendering index, and illuminance reach their optimal states. The items to be inspected should be placed in the center of the light box baseboard. When comparing the colors of two or more items, they should be placed side by side and close together. The observation angle should ideally be with the light source at 90° and the line of sight at 45°. The light source should shine vertically onto the items being inspected, and the observer should look at them from a 45° angle
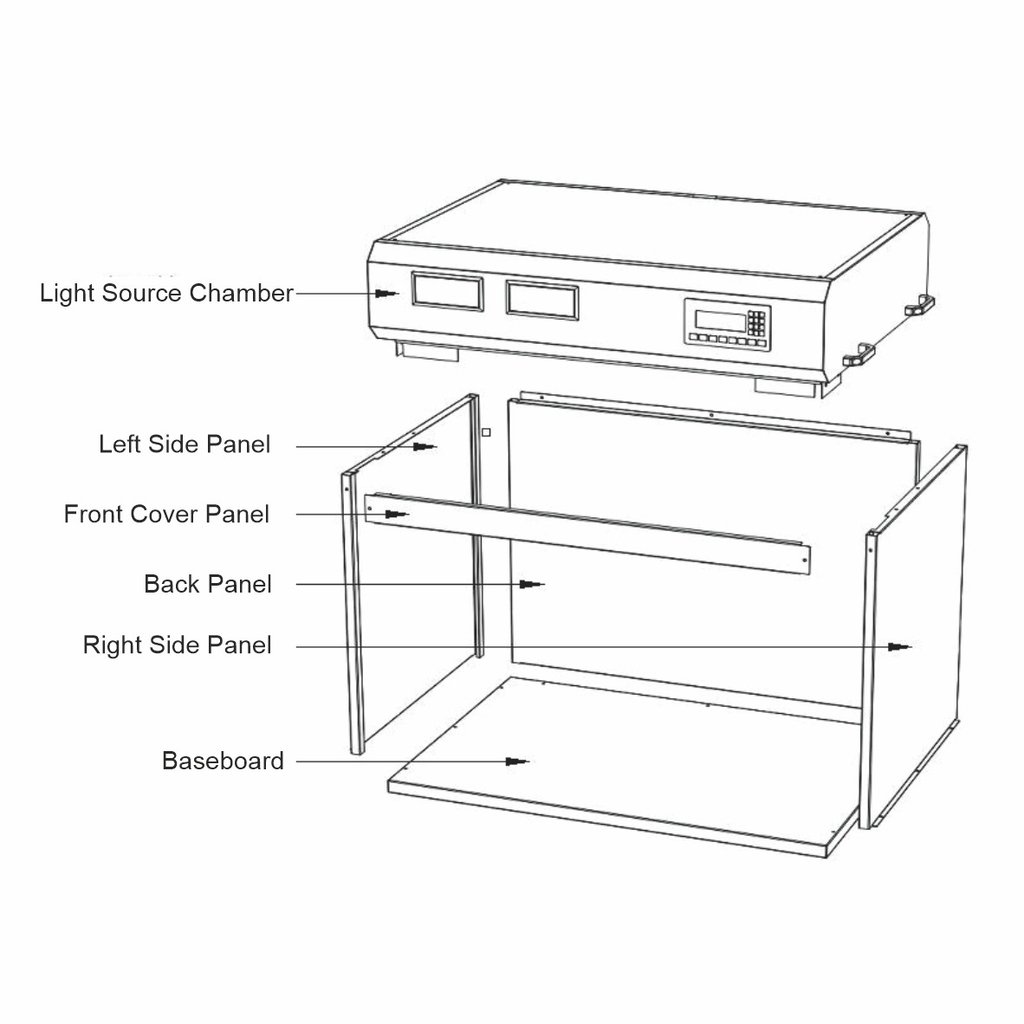

The components of the light box include:the light source chamber,baseboard,back panel,right side panel,left side panel,and front cover.M4 screws are also provided. The installation steps are as follows:
Place the baseboard on a clean and at surface,and prepare a Phillips screwdriver.
Install the screws for the back panel,but do not tighten them yet.
Install the screws for the right side panel,but do not tighten them yet.Use the same method to install the left side panel.
Install the screws for the front cover,but do not tighten them yet.
Tighten all the screws.
Install the light source chamber by snapping it down onto the viewing box.
Tighten the connecting screws on the back.
Tighten the screws on the left and right sides inside the viewing box.
Light Box Installation Method
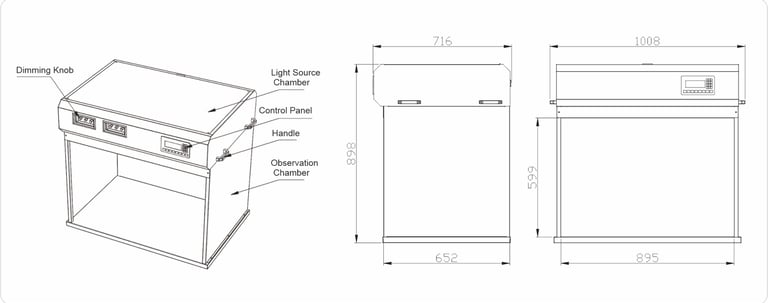
Appearance Schematic, and Dimensions
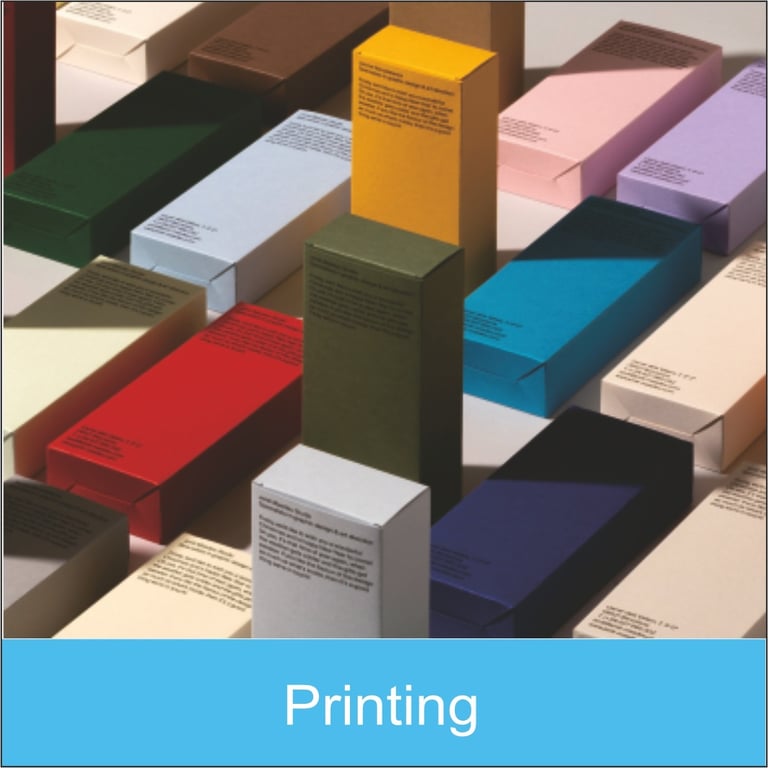
Application Fields
Widely used in color-related elds such as textiles, dyeing, printing, plastics, pigments, paints, inks, and photography


0811 9117 442 021 5566 9453
info@raferi.co.id
@2024 RAFERI GROUP All Right Reserved
Gedung EduCenter Jl. Sekolah Foresta No 8 BSD City, Tangerang, Banten, 15331 Telp : 021 5566 9453
Kawasan 3 Multi Gudang Bitung Tangerang, Blok A2-12, Kadu, Kec. Curug, Kabupaten Tangerang, Banten 15810
Office
Branch Office
Contact Us
Ruko Magnolia Residence No.05 Blok SQ2, Rt.04/rw.09, Jatake, Kec. Jatiuwung, Kota Tangerang, Banten